Your app's database
Every project on Instroc gets its own private database, created the moment you enable Instroc Cloud. This page covers how tables come to exist, how to browse and edit your data, how visibility settings keep it safe, and how your app's frontend reads it. If your app stores anything at all, this is the foundation it stands on.
There is nothing to provision or connect. The database belongs to this one project, is isolated from every other app on the platform, and holds up to 10 GB of data.
How tables get created
Most of the time you never create a table by hand. When you ask Roc for something that needs data ("let customers leave reviews", "add a waitlist"), Roc creates the tables the feature needs and wires the app to them. Tables appear in the Data panel as your app grows.
You can also create and change tables yourself. The Data panel has a New Table action for defining a table and its columns, and the SQL Editor panel lets you run SQL directly when you want full control, for example to reshape data or run a one-off query.
The Data panel
Open Instroc Cloud, then Data, to see every table in your app. You can browse records, edit them inline, and check History to see how the data has changed. It works like a spreadsheet view over your live data, which makes it handy for fixing a typo in a record or checking that a form submission actually landed.
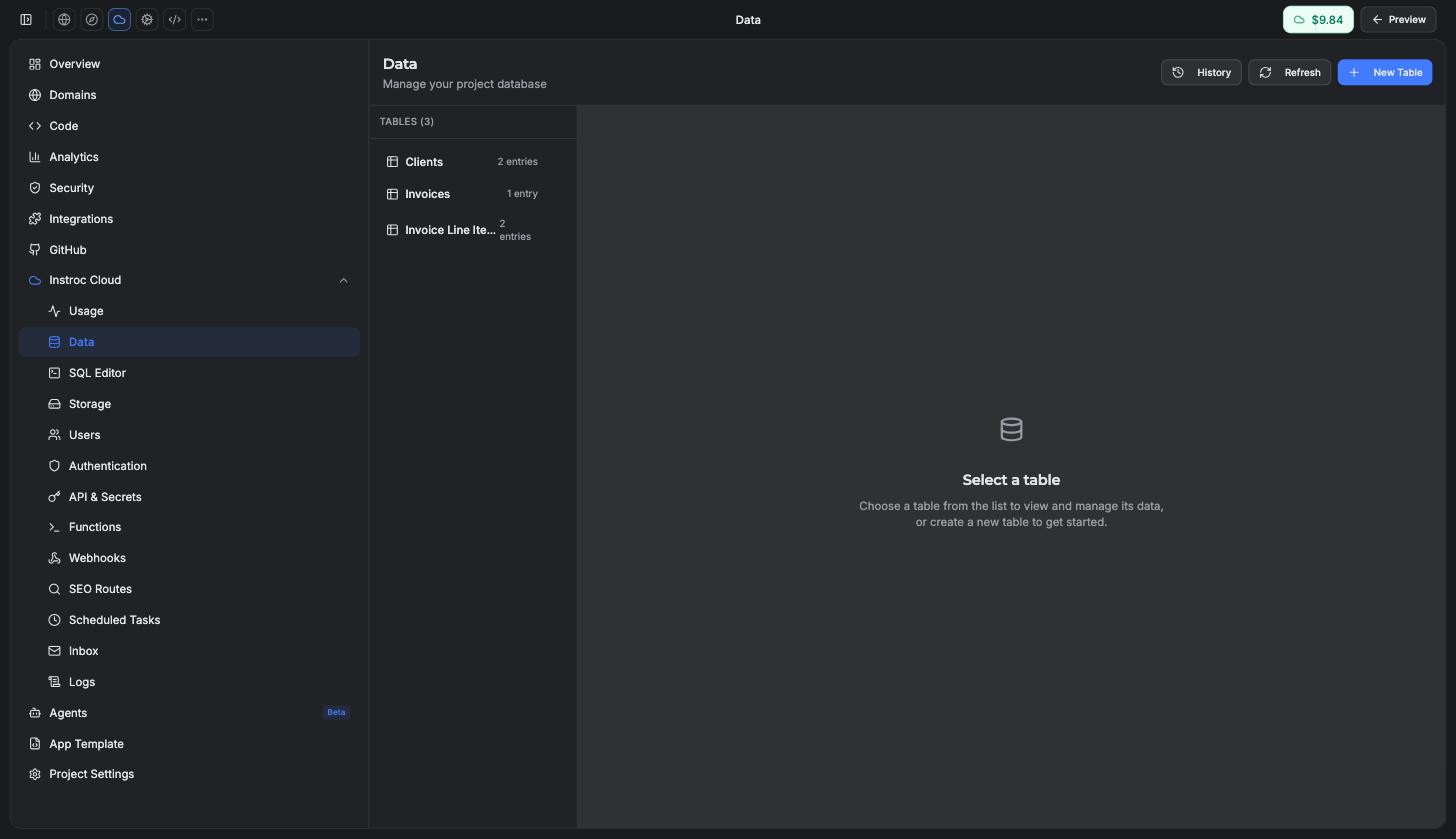
Beyond browsing, the database supports batch operations (up to 100 items per batch), aggregates (count, sum, avg, min, max), and export of any table as CSV or JSON. Exports are useful for backups, reporting, or moving data into a spreadsheet.
Visibility and security
Each table has one visibility setting that controls what your app's end users can do with it. This replaces hand-written security rules with six clear levels:
| Level | Who can read | Who can create | Who can update or delete |
|---|---|---|---|
| Private | Signed-in users see only their own rows | Signed-in users (rows are stamped as theirs) | Each user, their own rows |
| Authenticated | Any signed-in user sees all rows | Signed-in users | Any signed-in user |
| Public read | Anyone, including visitors | Signed-in users (own rows) | Each user, their own rows |
| Public create | No one (submissions are write-only) | Anyone, including visitors | Owner only |
| Public read and create | Anyone | Anyone | Owner only |
| Public | Anyone | Anyone | Anyone |
Instroc is secure by default: a table with no visibility setting at all is invisible to end users. Only you and your workspace editors can see it. That means a table Roc creates for internal use cannot leak data just because nobody configured it.
Two more things happen automatically. On private tables, each new row is stamped with the signed-in user's identity on the server, so ownership cannot be forged, and reads are filtered to the user's own rows without your app doing anything. As the project owner, you always see everything, because owner and admin users bypass these rules.
Never put customer personal information in a table with a public read level. For customer submissions like contact requests, use Public create so visitors can write but never read, and view the results yourself in the Data panel or an owner-only admin page.
The exact behavior of each level, including how denied requests appear to your app, is documented in Security rules.
The 10 GB limit
Each app's database is capped at 10 GB. You will get email warnings as you approach it, at 5 GB and again at 8 GB, so a growing app never hits the ceiling by surprise. Database storage is metered as part of your Cloud usage, so day-to-day costs come out of your allowance and balance. See Cloud billing.
Database history: restore to any point in the last 30 days
Mistakes happen: a risky change, a bad import, a delete that should not have run. The Data panel's History view lets you roll your database back to how it looked at any moment in the last 30 days.
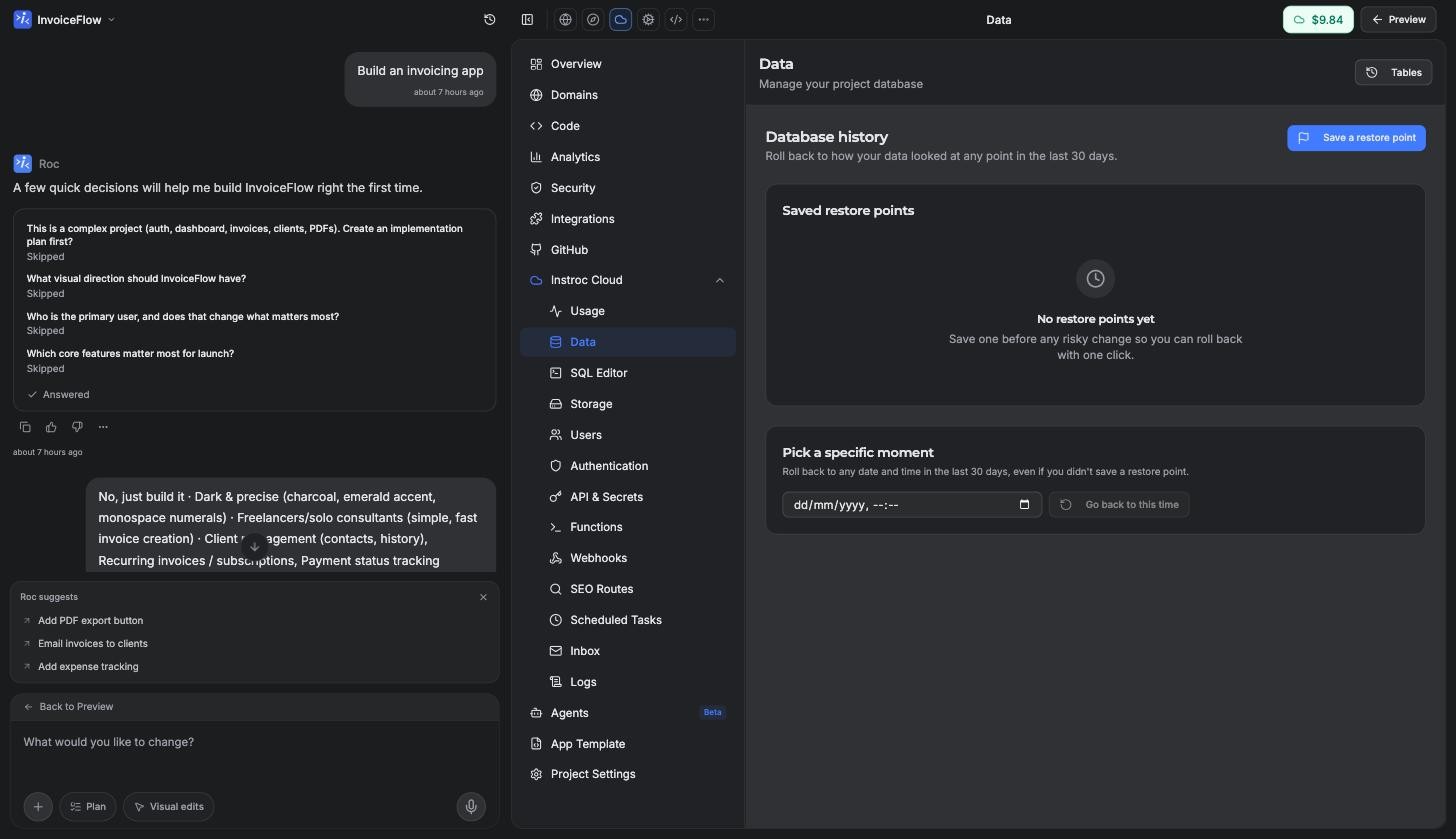
Open the Data panel and click History. You get two ways back:
- Saved restore points. Before any risky change, click Save a restore point and give it a name you will recognise later, like "Before adding products". Rolling back to a named point is one click.
- Pick a specific moment. Even without a saved point, you can pick any date and time in the last 30 days and go back to exactly that moment.
Restoring is designed to be safe to try. Before your data is rolled back, Instroc automatically saves the current state as an Undo point, so if the past state is not what you hoped, you can return to where you were. The confirmation dialog spells this out before anything happens.
A restore replaces your app's live data immediately. Anyone using your app at that moment will see the old data right away and may need to refresh their page. Only the project owner can perform a restore; editors can view history and save restore points.
A few practical limits: restore points go back 30 days, you can save up to 10 restore points per hour, and there is a short cooldown between restores. Removing a restore point from the list never touches your data; it just tidies the list.
How your app reads data
Your app's frontend talks to the database through simple hooks. Reading a table is one line:
const { data: posts, loading } = useQuery('posts', { order: 'created_at:desc' });
data is always an array, and the hook handles loading and error states for you. Writing goes through a matching mutation hook.
Queries return at most 100 rows per request (20 by default), so use pagination or useInfiniteQuery for longer lists. Successful writes automatically refresh queries on the same table, so there is never a reason to call refetch after an insert or update.
::: Roc uses these hooks when it builds features, so the code in your project will already look like this. The full options, filters, and mutation methods are documented in the Data API reference.