Workspaces
A workspace is where your projects live and who you build them with. Every account starts with a personal workspace, and paid plans can create more, so you can keep client work, your own products, and team projects cleanly separated. Members of a workspace share its projects and its credits, which makes a workspace the natural unit for a team or an agency.
Your personal workspace
When you sign up, Instroc creates a personal workspace for you. It behaves like any other workspace: it holds your projects, it has settings, and on a paid plan you can invite people into it. If you only ever build alone, you may never need another one.
Creating a workspace
Open the workspace switcher at the top of the dashboard sidebar and choose Create Workspace. Give it a name (up to 100 characters) and an optional description of what it is for, and Instroc switches you into it right away. You can invite members after creation; see Members and roles.
How many workspaces you can own depends on your plan, and your personal workspace counts toward the limit:
| Plan | Workspaces you can own |
|---|---|
| Free | 1 (personal only) |
| Hobby | 1 (personal only) |
| Starter | 3 |
| Pro | 10 |
| Business | 25 |
If you hit the limit, the create dialog tells you directly, for example "Starter plan allows 3 workspaces. Upgrade to create more." Workspaces you already own are never taken away if you later downgrade; limits only block creating new ones.
Renaming and customizing a workspace
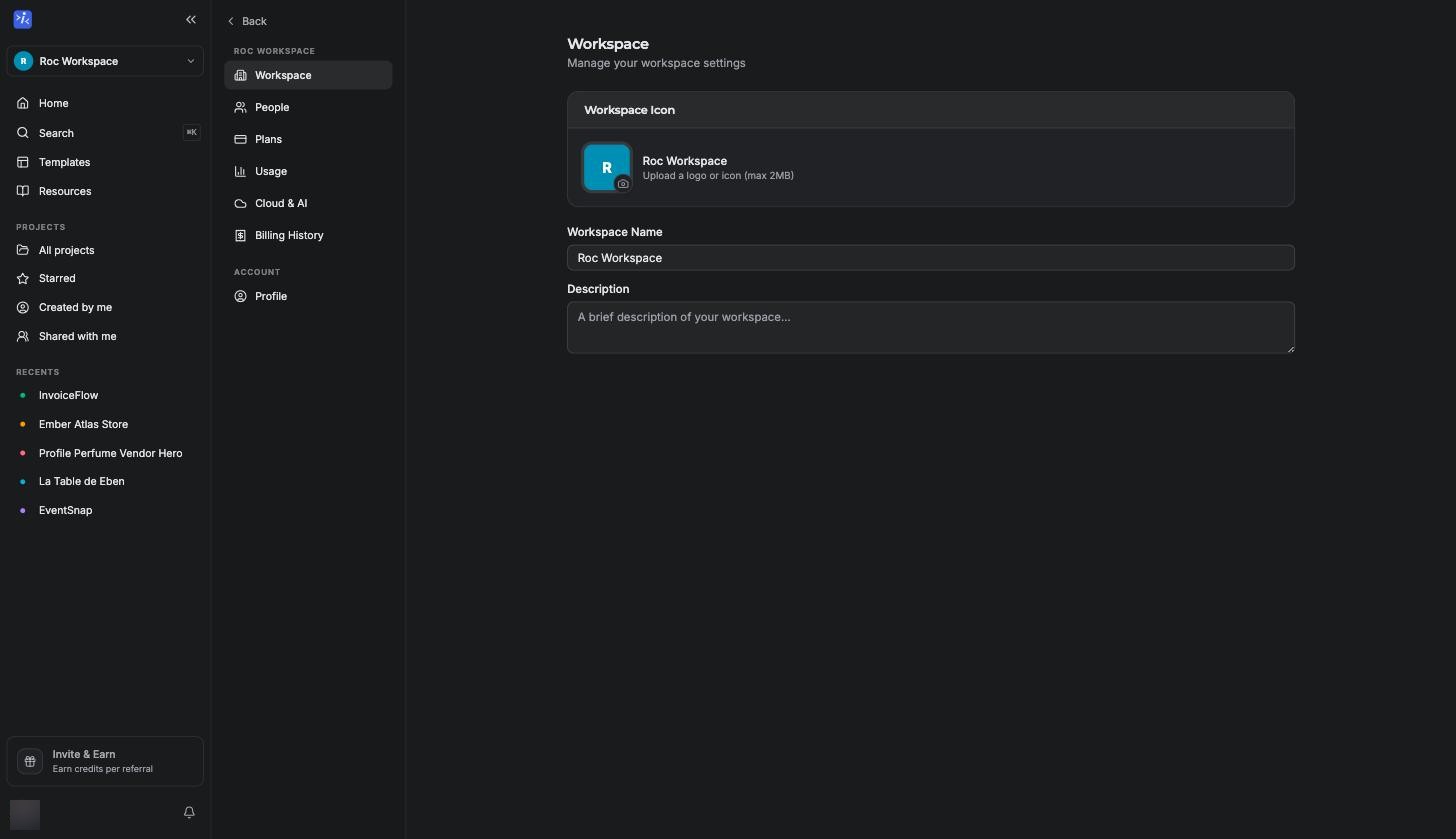
Workspace settings live at Settings, Workspace tab in the dashboard. You can:
- Rename the workspace. Type a new name and click Save Changes.
- Upload an icon. Click the camera button on the workspace icon and pick an image (JPEG, PNG, WebP, or GIF, up to 2 MB). A Remove icon link appears once one is set.
- Add a description. A short note about what the workspace is for, useful when you belong to several.
Renaming a workspace changes nothing about its projects or members. Live apps, custom domains, and invitations all keep working. Only workspace admins and owners can change these settings.
Switching between workspaces
The workspace switcher in the sidebar shows all workspaces you own or belong to. Clicking one switches the whole dashboard to that workspace: its projects, its settings, and its plan. The switcher popover also shows the workspace's plan, your role in it, and a credits meter, plus shortcuts to Workspace Settings, Invite Members, and Upgrade Plan.
Moving projects between workspaces
A project can be transferred to another workspace you belong to. From the dashboard, open the project card's menu and choose Transfer to workspace, or use Project Settings, Danger Zone, Transfer to another workspace in the editor. The project moves with its data, published app, and history.
Credits and billing are per workspace
Each workspace runs on its owner's plan, and its members build using that workspace's credits. The People tab shows how many credits each member has used this month, so an agency owner can see where the budget goes. Billing itself can only be managed by the workspace owner; see Managing your subscription.
Related pages
- Members and roles for inviting people and what each role can do.
- Plans for the workspace and collaborator limits on each plan.